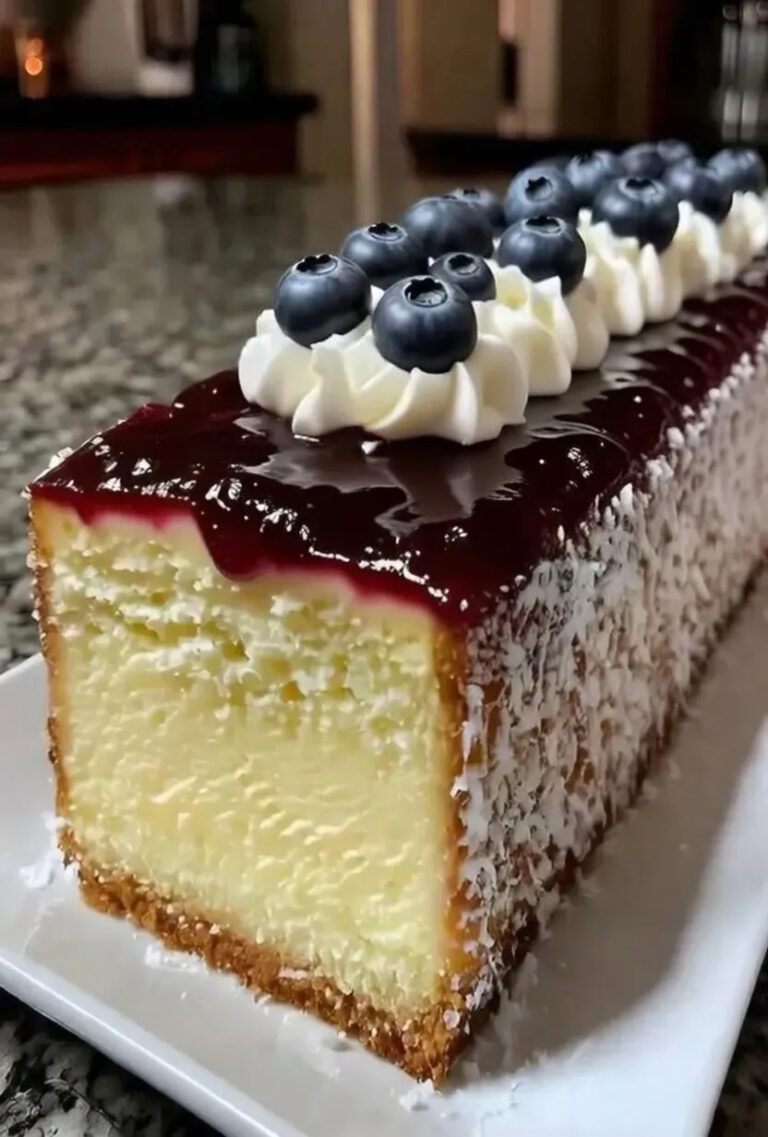
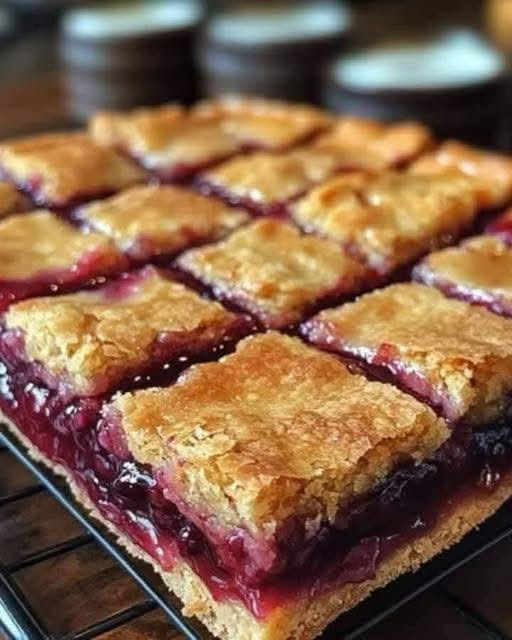
Cherry Bars Soft, Buttery, and Bursting with Sweet Cherry Flavor
Cherry Bars are soft, rich, and incredibly satisfying dessert bars made with a buttery cake-like base and topped with sweet cherry pie filling and a light glaze. These classic American dessert bars are perfect for holidays, potlucks, bake sales, or simply when you crave a nostalgic homemade treat.
If you love easy dessert recipes that look impressive but require minimal effort, these Cherry Bars will quickly become a favorite in your kitchen.
Table of Contents
- Why You’ll Love These Cherry Bars
- Ingredients Breakdown
- Kitchen Tools You’ll Need
- Step-by-Step Instructions
- Expert Baking Tips
- Make Ahead Instructions
- How to Store Cherry Bars
- Freezing Instructions
- Ingredient Substitutions
- Flavor Variations
- Serving Suggestions
- Frequently Asked Questions
- Final Thoughts
Why You’ll Love These Cherry Bars
- ✔ Easy to prepare
- ✔ Budget-friendly ingredients
- ✔ Perfect for feeding a crowd
- ✔ Soft and buttery texture
- ✔ Beautiful presentation
- ✔ Freezer-friendly
The combination of tender vanilla batter and sweet cherry topping creates the perfect balance of flavor and texture.
Ingredients
For the Bars
- 1 cup unsalted butter, softened
- 2 cups granulated sugar
- 4 large eggs
- 1 teaspoon vanilla extract
- 3 cups all-purpose flour
- 1 teaspoon salt
- 1 (21 oz) can cherry pie filling
For the Glaze
- 1 cup powdered sugar
- 2–3 tablespoons milk
- ½ teaspoon vanilla extract
Kitchen Tools Needed
- Large mixing bowl
- Electric mixer
- 9×13-inch baking pan
- Spatula
- Wire cooling rack
- Small bowl for glaze
Step-by-Step Instructions
Step 1: Preheat Oven
Preheat your oven to 350°F (175°C). Grease a 9×13-inch baking pan or line it with parchment paper.
Step 2: Cream Butter and Sugar
Using an electric mixer, beat softened butter and sugar until light and fluffy. This step helps create a tender texture.
Step 3: Add Eggs and Vanilla
Add eggs one at a time, mixing well after each addition. Stir in vanilla extract.
Step 4: Add Dry Ingredients
Gradually add flour and salt. Mix until just combined. Do not overmix.
Step 5: Assemble
Spread about ¾ of the batter into the prepared pan. Spoon cherry pie filling evenly over the top. Drop remaining batter in small spoonfuls over cherries.
Step 6: Bake
Bake for 35–40 minutes or until golden brown and set in the center.
Step 7: Cool and Glaze
Allow bars to cool completely before drizzling with glaze made from powdered sugar, milk, and vanilla.
Expert Baking Tips
- Use room temperature butter for best texture.
- Do not overbake — it will dry the bars.
- Let them cool fully before slicing for clean cuts.
- Use parchment paper for easy removal.
Make Ahead Instructions
You can bake these bars one day in advance. Store covered at room temperature and glaze before serving for best appearance.
How to Store Cherry Bars
Store in an airtight container at room temperature for up to 3 days or refrigerate for up to 5 days.
Freezing Instructions
Wrap tightly in plastic wrap and freeze up to 3 months. Thaw overnight in the refrigerator.
Ingredient Substitutions
- Use blueberry or strawberry pie filling instead of cherry.
- Swap vanilla extract for almond extract.
- Use gluten-free flour blend if needed.
Flavor Variations
- Add white chocolate chips.
- Sprinkle sliced almonds on top.
- Add lemon zest for brightness.
Serving Suggestions
Serve with vanilla ice cream, whipped cream, or a cup of coffee for the perfect dessert experience.
Frequently Asked Questions
Can I use fresh cherries?
Yes, but you’ll need to cook them with sugar and cornstarch first.
Can I reduce the sugar?
You can reduce slightly, but it may affect texture.
Why are my bars dry?
They were likely overbaked.
Final Thoughts
Cherry Bars are the ultimate easy dessert for busy families and holiday gatherings. Their soft texture and sweet cherry topping make them irresistible. Save this recipe and enjoy a slice of nostalgic comfort anytime.
© 2026 SuperRecipes. All Rights Reserved.