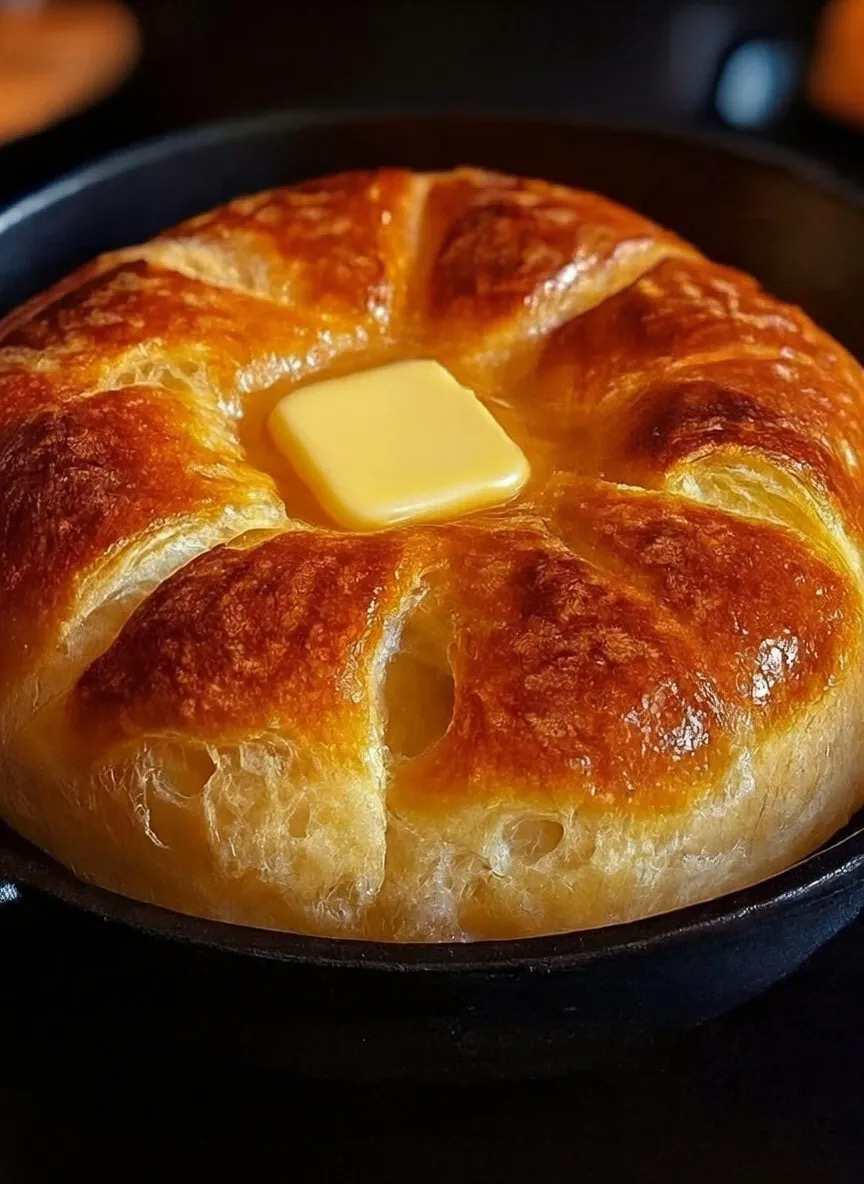
No-Oven Stovetop Bread Soft Homemade Bread
Discover how to bake soft, fluffy bread on your stovetop without needing an oven. Perfect for beginners and bread lovers alike, this recipe will guide you step by step.
Introduction
Baking bread at home is one of life’s simple pleasures. The aroma, the texture, and the satisfaction of slicing into a freshly baked loaf cannot be matched by store-bought bread. However, not everyone has access to an oven, and even if they do, using it during hot weather can be uncomfortable. That’s where stovetop bread comes in. This method allows you to create soft, golden bread using just a skillet or heavy-bottomed pan, water, flour, and a few other ingredients.
In this comprehensive guide, we’ll cover everything from activating yeast properly to shaping the dough and cooking it evenly on the stovetop. We’ll also provide tips to enhance flavor, variations to experiment with, and advice on storage and serving.
Ingredients
Here’s what you’ll need for this recipe:
- 3 cups all-purpose flour (bread flour works too)
- 1 cup warm water (110°F / 43°C)
- 2 teaspoons sugar
- 1 teaspoon salt
- 2 teaspoons active dry yeast
- 2 tablespoons olive oil or melted butter
- Optional: garlic powder, dried herbs, sesame seeds, or other flavorings
Pro tip: Using bread flour will result in chewier bread, while all-purpose flour produces a softer texture.
Step-by-Step Instructions
Step 1: Activate the Yeast
Combine the warm water, sugar, and yeast in a small bowl. Stir lightly and let it sit for 5–10 minutes. The mixture should become frothy, which indicates that the yeast is active. If nothing happens, your yeast may be old, and it’s best to use a fresh batch.
Step 2: Mix the Dough
In a large mixing bowl, combine the flour and salt. Gradually add the yeast mixture and olive oil. Mix until a sticky dough forms. You can use a spatula or your hands. Make sure all the flour is incorporated.
Step 3: Knead the Dough
Transfer the dough to a lightly floured surface. Knead for 8–10 minutes until smooth and elastic. Kneading develops gluten, which gives the bread its structure and chewy texture. Avoid adding too much flour; a slightly sticky dough will yield softer bread.
Step 4: First Rise
Place the dough in a lightly greased bowl and cover it with a damp cloth or plastic wrap. Let it rise in a warm, draft-free area for 1–2 hours, or until it doubles in size. This first rise is essential for a soft and airy loaf.
Step 5: Shape the Dough
After rising, punch down the dough to release trapped air. Shape it into a round or oval loaf that will fit into your skillet. You can also divide the dough into smaller portions for individual bread rolls.
Step 6: Preheat the Skillet
Use a heavy-bottomed skillet or non-stick pan. Preheat it over low to medium heat and lightly grease with oil or butter. A lid is necessary to trap steam, which keeps the bread soft.
Step 7: Cook the Bread
Place the shaped dough into the preheated skillet. Cover with a lid and cook for 10–15 minutes on one side. Carefully flip the bread and cook for another 10–15 minutes. The bread is ready when it is golden brown and sounds hollow when tapped.
Step 8: Cool the Bread
Remove the bread from the skillet and place it on a wire rack. Let it cool for 10–15 minutes before slicing. Cooling ensures the inside sets properly and maintains softness.
Tips for Perfect Stovetop Bread
- Use a heavy-bottomed skillet to prevent burning and ensure even heat distribution.
- Cook on moderate heat; high heat can burn the crust while leaving the inside undercooked.
- Cover the skillet while cooking to trap steam, which keeps the bread soft.
- Don’t skip the first rise; it’s crucial for airy bread.
- Add flavorings such as garlic powder, dried herbs, or seeds for extra taste.
Variations & Flavor Ideas
- Garlic & Herb Bread: Add 1 teaspoon garlic powder and 1 tablespoon dried herbs to the dough.
- Cheese Bread: Fold in ½ cup shredded cheese (cheddar or mozzarella) before cooking.
- Whole Wheat Bread: Replace half or all of the flour with whole wheat flour for a healthier option.
- Sweet Cinnamon Bread: Mix 2 tablespoons sugar and 1 teaspoon cinnamon into the dough, then sprinkle sugar on top after cooking.
- Seeded Bread: Add sesame, poppy, or sunflower seeds to the dough or on top before cooking.
Serving Suggestions
- Use as a base for sandwiches with cheese, vegetables, or deli meats.
- Serve alongside soups and stews for a comforting meal.
- Toast slices and spread with butter, jam, or honey for breakfast.
- Create bruschetta with tomatoes, basil, and olive oil.
- Enjoy simply with a drizzle of olive oil and a pinch of sea salt.
Health Benefits of Homemade Bread
- Control over ingredients—less sodium and no preservatives.
- Option to include whole grains for added fiber and nutrients.
- Customizable with seeds, herbs, and healthy oils.
- Better digestion compared to highly processed store-bought bread.
Frequently Asked Questions (FAQ)
Can I use instant yeast instead of active dry yeast?
Yes. Instant yeast can be added directly to flour without activating in water. Use slightly less than active dry yeast.
How long will stovetop bread stay fresh?
Store in an airtight container at room temperature for up to 3 days. Freeze for up to 2 months for longer storage.
Can I make this bread gluten-free?
Yes, but results may vary. Use a gluten-free flour blend and add a binding agent like xanthan gum.
What if my bread doesn’t rise properly?
Check your yeast freshness and ensure water is warm but not hot. Rising in a warm, draft-free area is crucial.
Conclusion
This No-Oven Stovetop Bread recipe shows that you don’t need an oven to enjoy fresh, homemade bread. With simple ingredients, careful steps, and some patience, you can create soft, fluffy, and delicious bread right on your stovetop. Experiment with flavors, serve with your favorite dishes, and enjoy the warmth and satisfaction of baking at home.