Bread in a Bag Recipe
Discover how to make soft, fluffy, and delicious bread using just a plastic bag and simple ingredients. This step-by-step guide will take you from preparation to baking, making it ideal for beginners or anyone who loves fresh homemade bread.
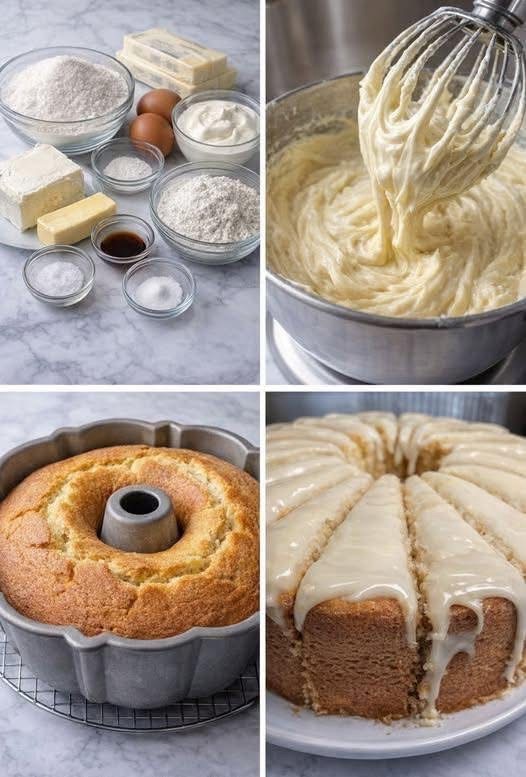
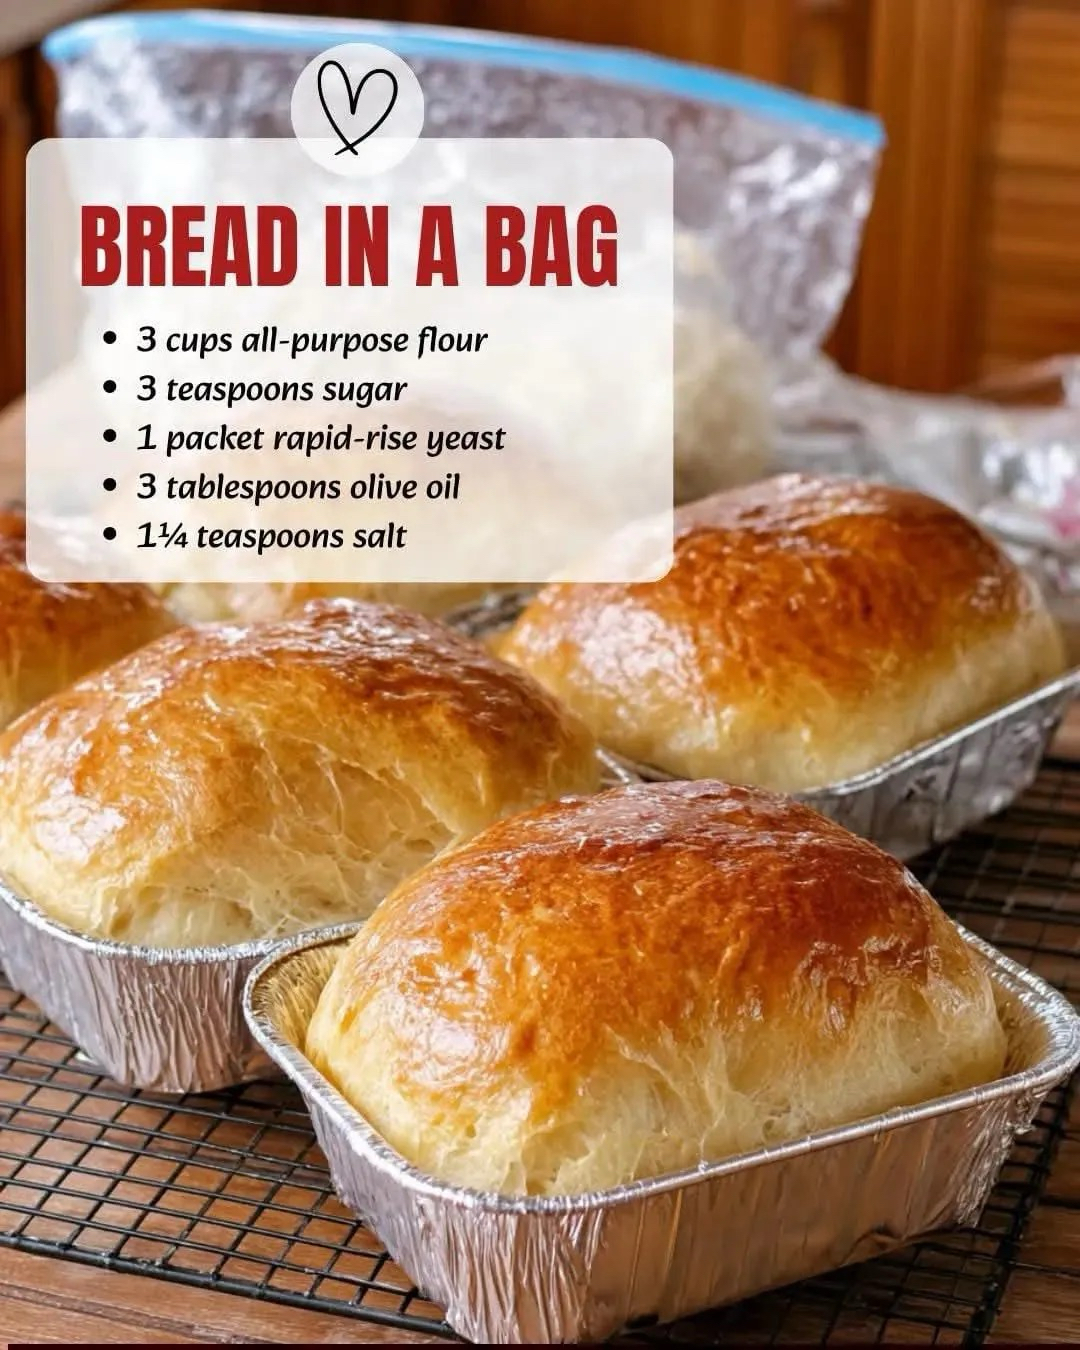
Ingredients
- 3 cups all-purpose flour
- 3 teaspoons sugar
- 1 packet rapid rise yeast
- 1 cup warm water (110°F / 43°C)
- 3 tablespoons olive oil
- 1 1/4 teaspoons salt
Equipment Needed
Before you start, make sure you have the following items:
- Large mixing bowl
- Measuring cups and spoons
- Plastic sandwich bag or gallon-size resealable bag
- Baking sheet
- Parchment paper (optional)
- Oven thermometer (optional but recommended)
Step-by-Step Instructions
Step 1: Prepare the Ingredients
Measure all your ingredients carefully. Use warm water at about 110°F (43°C) to activate the yeast properly. Make sure the flour is fresh for the best texture and taste.
Step 2: Mix Dry Ingredients
In a large bowl, add 3 cups of all-purpose flour, 3 teaspoons sugar, 1 packet of rapid rise yeast, and 1 1/4 teaspoons of salt. Mix them together until fully combined. This ensures even distribution of the yeast and seasoning.
Step 3: Combine Wet Ingredients
In a separate cup, combine 1 cup of warm water with 3 tablespoons of olive oil. Stir gently to mix. The olive oil helps keep the bread soft and adds a subtle flavor that complements homemade bread perfectly.
Step 4: Use the Bag Method
Pour the wet ingredients into a large resealable plastic bag. Slowly add the dry ingredients into the same bag. Seal the bag tightly and mix everything by kneading it through the bag. This method minimizes mess and makes kneading easy for beginners.
Step 5: Knead the Dough
Knead the dough inside the bag for 5-7 minutes. You should feel the dough becoming elastic and smooth. If it’s sticky, sprinkle a little more flour. Kneading helps develop gluten, which gives the bread structure and chewiness.
Step 6: Let the Dough Rise
Place the sealed bag in a warm area for about 1 hour. The dough should double in size. Rising allows the yeast to ferment, producing air pockets that make the bread fluffy and light.
Step 7: Shape the Dough
Once risen, remove the dough from the bag and place it on a lightly floured surface. Shape it into a loaf or your preferred form. You can also divide it into rolls for smaller servings.
Step 8: Second Rise
Transfer the shaped dough onto a parchment-lined baking sheet. Cover it lightly with a clean kitchen towel and let it rise again for 20-30 minutes. This final rise ensures a soft and airy texture.
Step 9: Bake the Bread
Preheat your oven to 375°F (190°C). Bake the bread for 25-30 minutes or until golden brown on top. You can check doneness by tapping the bottom of the loaf—it should sound hollow. Baking gives the bread its perfect crust and locks in moisture.
Step 10: Cool and Serve
Let the bread cool on a wire rack for at least 15 minutes before slicing. This prevents it from becoming gummy inside. Enjoy your fresh homemade bread with butter, jam, or any favorite topping.
Tips for Perfect Bread Every Time
- Use fresh yeast for better rising.
- Warm water should not exceed 115°F to avoid killing the yeast.
- Knead the dough enough to develop gluten but avoid over-kneading.
- Allow proper rising time; patience is key for fluffy bread.
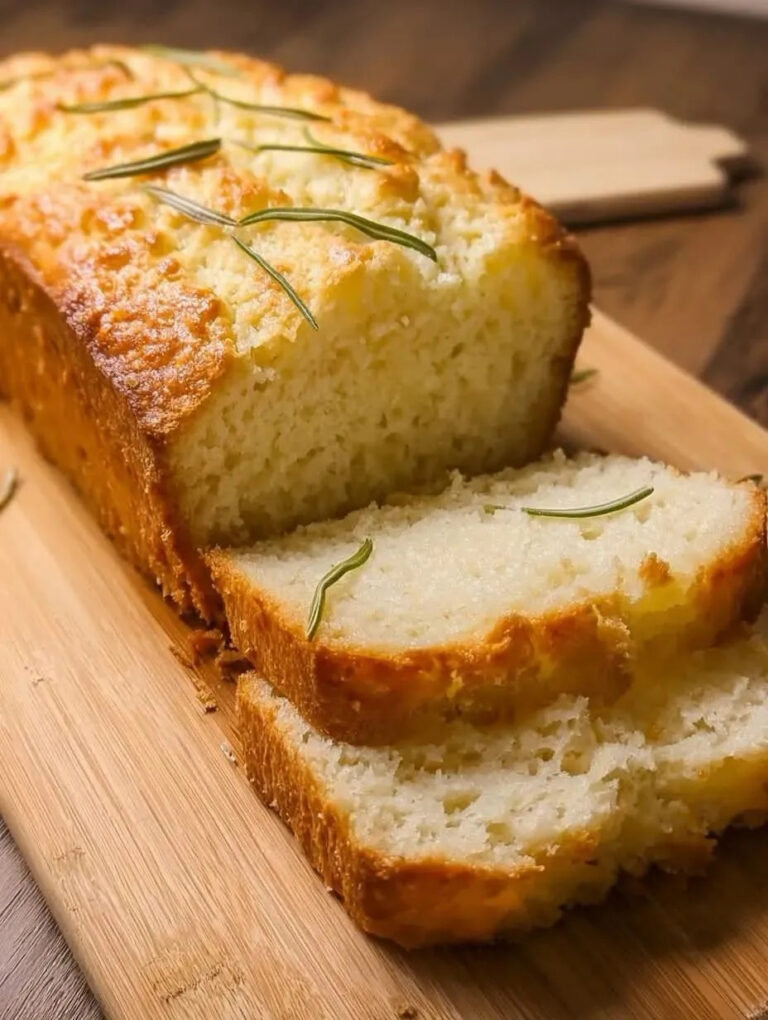
- Optional: Add herbs like rosemary or thyme for extra flavor.
Variations and Ideas
Making bread in a bag is versatile. Here are some creative variations:
- Garlic and Herb Bread: Add minced garlic and chopped herbs to the dough.
- Cheese Bread: Mix shredded cheddar or parmesan into the dough.
- Whole Wheat Version: Replace half of the all-purpose flour with whole wheat flour.
- Sweet Bread: Add cinnamon, raisins, or dried cranberries for a sweet twist.
Why Bread in a Bag Works
This method simplifies bread making by reducing mess and making kneading easy. It’s perfect for beginners who want to learn bread baking without investing in special equipment. The bag method ensures all ingredients are mixed evenly, resulting in a consistent and soft loaf every time.
History of Homemade Bread
Bread has been a staple food for thousands of years. Ancient civilizations like the Egyptians and Romans baked early forms of bread. Over time, techniques evolved to create soft, fluffy loaves enjoyed around the world today. Homemade bread, especially, carries a sense of tradition, comfort, and nostalgia, making it more than just a meal—it’s an experience.
Serving Suggestions
Bread in a Bag is incredibly versatile. Here are some ways to enjoy it:
- Toast slices for breakfast with butter and jam.
- Use it for sandwiches with deli meats or fresh vegetables.
- Pair with soups or stews for a cozy meal.
- Serve warm with olive oil and balsamic vinegar as a starter.
Storing and Freezing
Store leftover bread in an airtight container at room temperature for up to 3 days. For longer storage, freeze slices in a resealable bag. When ready to eat, thaw at room temperature or toast directly from frozen. This keeps the bread fresh and soft.
Conclusion
Bread in a Bag is a simple, easy, and delicious homemade bread recipe. With minimal ingredients and effort, you can enjoy fresh bread any time. Follow this step-by-step guide, experiment with flavors, and create comforting bread that will fill your home with warmth and aroma. Whether you are a beginner or an experienced baker, this method is foolproof and rewarding.